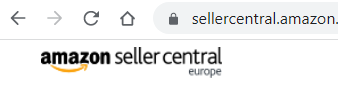
Step 1. Log in to your Amazon seller account.
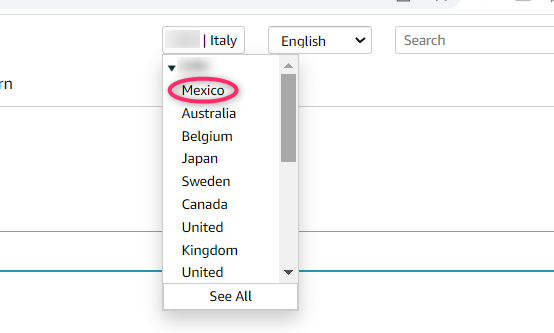
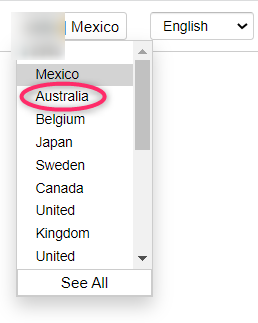
Step 2. Amazon divides sales depending on which Amazon website the goods have been sold on. So, to take into account all sales, commissions and payments from Amazon, you need to upload a separate Date Range Report from all the Amazon sites where you have sales.
For example, it can be Mexican Amazon, Australian Amazon, Belgian Amazon, etc.
Go to the first one on the list, upload the report according to the instructions below and then go back to that step again and select the next Amazon.
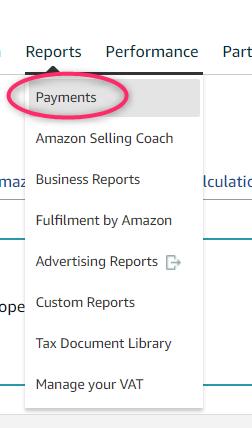
Step 3. Please choose Reports from menu.

Step 4. Please click on Payments.
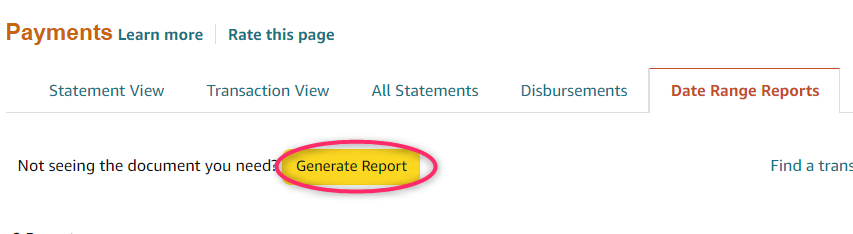
Step 5. Click on Date Range Reports.

Step 6. Click on the Generate Report button.
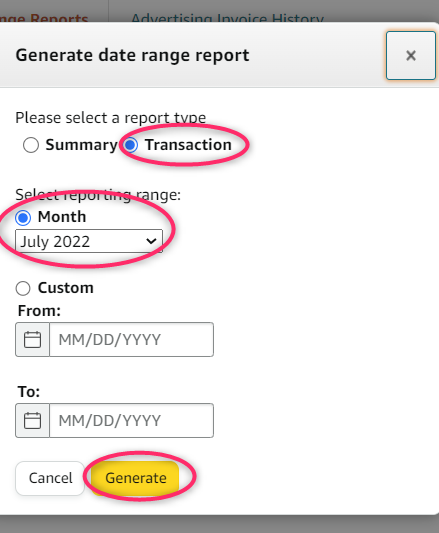
Step 7. Select the Transaction report type, the desired period and click on Generate button.
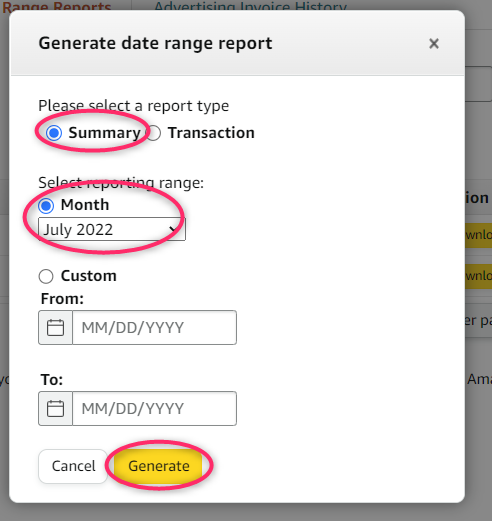
Then do the same, but select Summary as the report type.
Step 8. Click on the Download button next to each of the reports.

As a result, you should have two files uploaded to your computer. One in pdf format and one in csv format.

Step 9. Repeat the steps in this instruction from step 2 selecting the next country in the list.
Step 10. After you download all the reports from all the countries, please upload all these reports into Nola Accounting.